
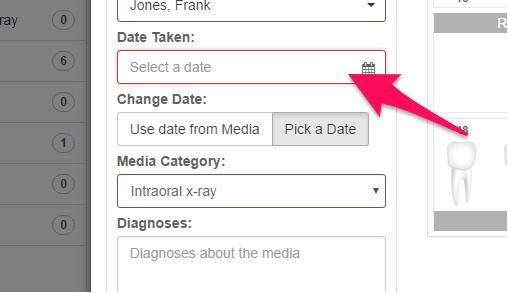
Sometimes you may need to "Pick a Date" because the date which the image was created/saved is not the same date that the image was taken, seen in the example below:
The x-ray was exported from another software on 20th July, 2016 but was actually taken on 19th April, 2015. In this scenario, you'll need to manually pick the date. It's only one extra step; here's how to do it.
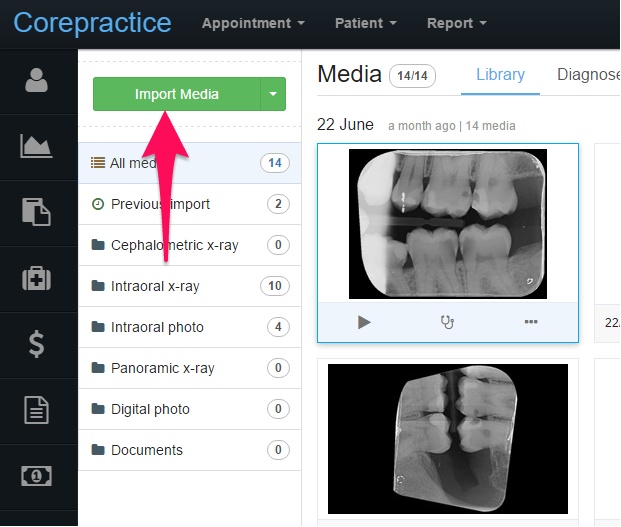
- Click on Media from the patient's file.

- Click on Import Media.
- Select the quality of the media to be imported.
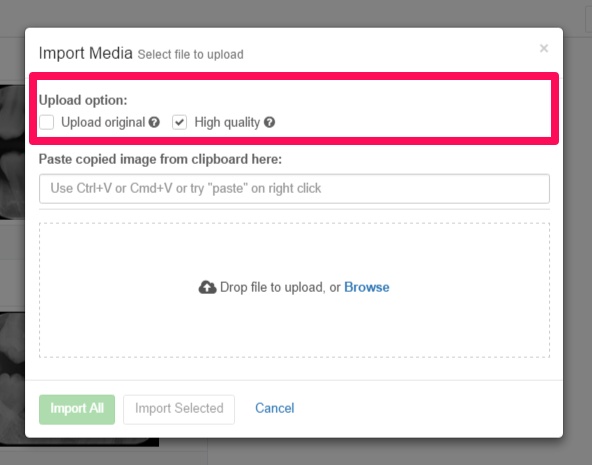
There are three options in this section;
Selecting "Upload original": the original image will be uploaded. This is referring to the original size and dimensions, and it may take a long time to upload.
Selecting "High quality": limits the dimensions of the image, making it quicker to upload than the original image, but it will not have the same quality as the original.
Leaving both un-selected ("low quality"): limits the dimensions of the image further, making it even quicker to upload, but the quality is lower again than the original.
It is important to note that selecting lower quality import options will sacrifice some image quality, but will allow the media to be uploaded quicker. It is a compromise between the internet speed and desired image quality. - Click Browse to select the media which you wish to import.
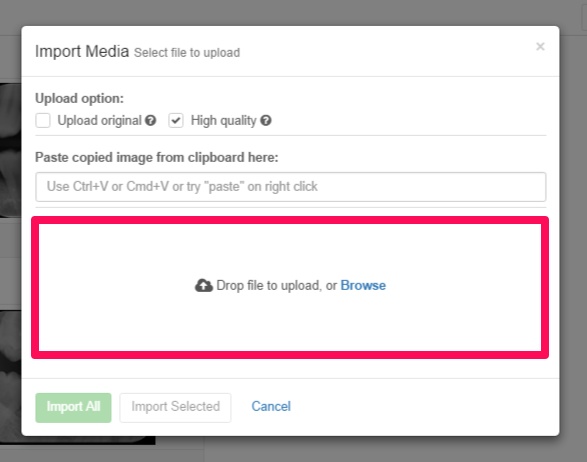
You can also drag media into the highlighted box in order to import it, or copy and paste the image from the clipboard into the textbox above this highlighted box. - Click on Pick a Date option.
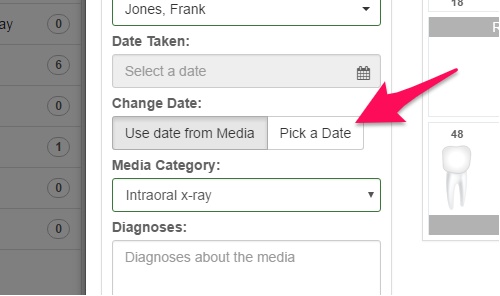
- Click on the Date Taken field and use the calendar to select the correct date.
- Click on the Media Category dropdown menu and select a folder to put the media into.

- Tag a tooth by selecting the media you wish to upload and selecting the tooth or region it belongs to.
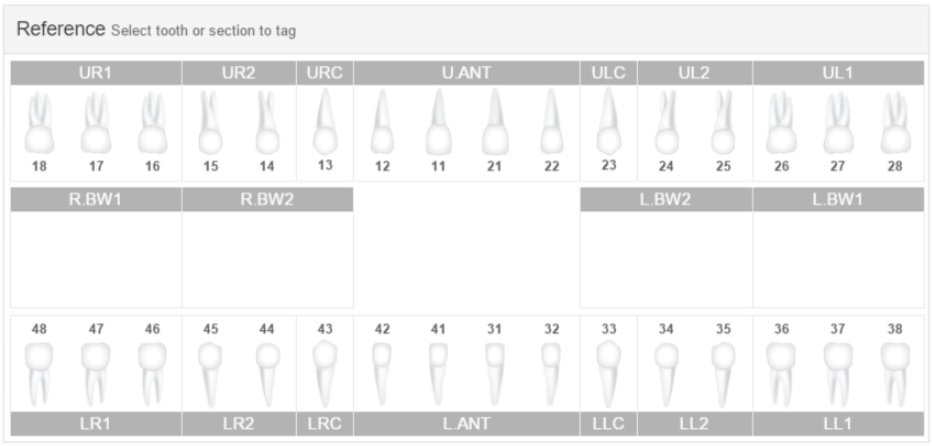
This step isn't required, and the dentist can do this once the media has been uploaded. - Click Import All if you're done.
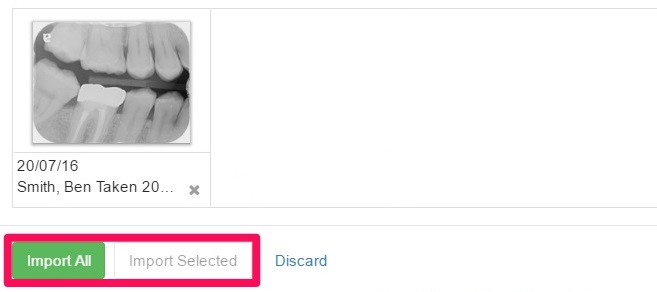
If there is media which you no longer wish to import, select the ones you want by clicking on them once and then click Import Selected. Alternatively, click on the X in the bottom right corner of the unwanted media in order to remove it.
All done! Now the dentist can view and diagnose the newly imported media.
Comments
0 comments
Please sign in to leave a comment.